Another Tuesday, another Photoshop Tutorial!
This time, we finish up the series about brushes in Photoshop CS4 and earlier with a discussion about how to make a brush from a color image, using either a Black & White Adjustment Layer, or Lab color, to get the values you want for your brush.
I'll also show you how to easily copy the settings from one brush preset to another one.
Finally, we'll talk about how to organize your brushes, save them so they show up in the Brushes menu, and save them so they won't; but you can find them easily.
Next time, I'm going to do something else, because I feel like all I've talked about for months and months is brushes! (Mostly because that's all I've talked about for months and months.) I'll get back to them, and do brushes in CS5, later.
If there's anything you're really curious about in Photoshop, let me know!
Tuesday, August 30, 2011
Mesh Exploration Plant Stand
Mesh came to SL™ last week. For those not familiar with it, that means that, for the first time, we can now upload models that we make in other 3D applications directly to SL, with their UV Maps and everything else intact.
It's a huge change, and like all other changes in SL, it's not without controversy and confusion. To help alleviate some of that, I've made a mesh object for people to experiment with, and 3 videos to help explain how to work with it.
The first one talks about what mesh is, what Prim Equivalency is, what LOD is (and how to adjust the LOD you see using renderVolumeLODfactor,) what UV Maps are, and how to save a texture from SL onto your own hard drive.
The second one explains how to use the UV Map to easily put a texture on the plant stand.
The third one shows how to bring your finished textures back into SL, and put them back on the model.
If you are an SL resident, and you want to try playing with the plant stand yourself, you can get it at the SL Marketplace.
Enjoy!
Tuesday, August 16, 2011
Robin has a New Store!
This isn't happening at Livingtree; it's happening at a brand new sim called "The Nest" which is attached to the Cheeky Pea sim. But if you are interested in shopping for your Home and Garden, and interested in Robin's Home and Garden store, then you'll want to know this!

The Nest is a home and garden shopping paradise, with all your favorite Home and Garden stores. (Places like the Loft, LISP Bazaar, Theosophy, Clutter, Mud Honey, Thistle Homes, north west, Second Spaces, and many, many more.)
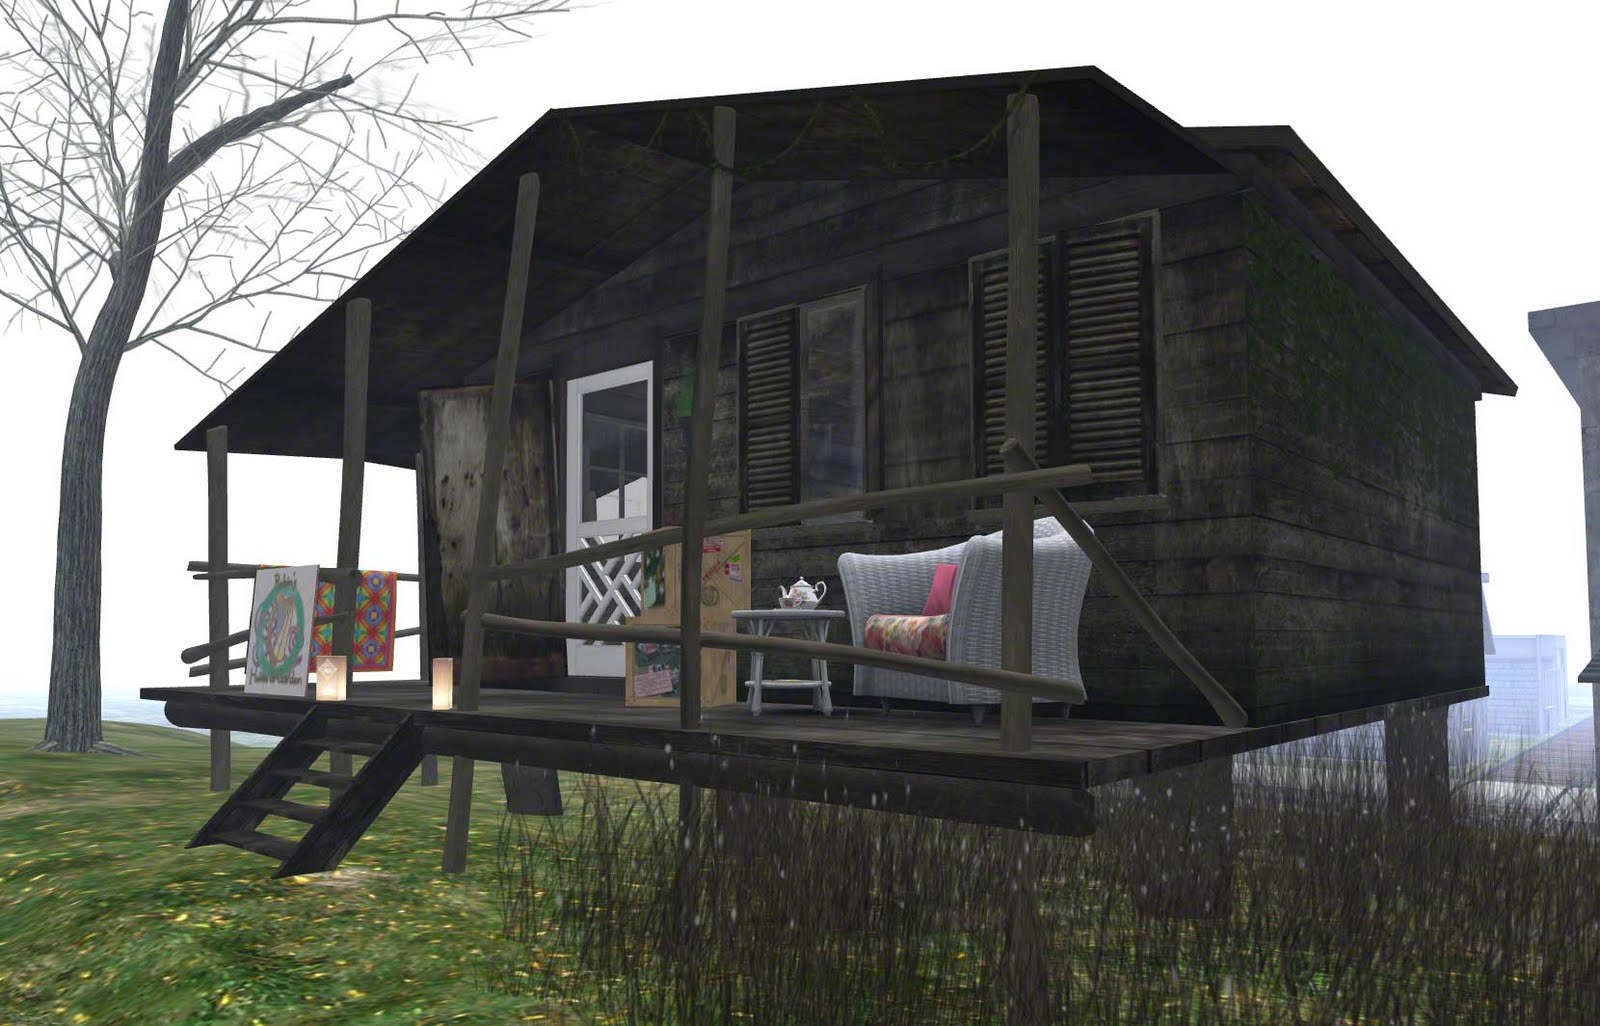
The sim is beautiful, with a main street, some cottages, and a farm and "shacktown" on the wrong side of the rails. I wasn't early enough to get a store on the main street, but I did manage to get one of the shacks! So Robin's Home and Garden Store is right there on the same sim as the Big Names!

I'm very excited about this, and am already starting to get more home and garden stuff done. You can see the "Rail Quilt" I did just for this shop in the picture. (The shack really needed something to brighten it up!)
So come on down to Robin's Home and Garden at the Nest and take a look at my new digs!
The Nest is a home and garden shopping paradise, with all your favorite Home and Garden stores. (Places like the Loft, LISP Bazaar, Theosophy, Clutter, Mud Honey, Thistle Homes, north west, Second Spaces, and many, many more.)
The sim is beautiful, with a main street, some cottages, and a farm and "shacktown" on the wrong side of the rails. I wasn't early enough to get a store on the main street, but I did manage to get one of the shacks! So Robin's Home and Garden Store is right there on the same sim as the Big Names!

I'm very excited about this, and am already starting to get more home and garden stuff done. You can see the "Rail Quilt" I did just for this shop in the picture. (The shack really needed something to brighten it up!)
So come on down to Robin's Home and Garden at the Nest and take a look at my new digs!
New Coolers!
Labor Day is almost upon us; time for cookouts, tail gate parties, outdoor concerts, and one last picnic on the beach!
Take along all the snacks and drinks you want, for just 2 prims, with my brand new Large Snack Cooler!

It's packed 14 different snacks, and 21 beverages, in 5 categories (Healthy Snacks, Sweet Snacks, Soda Pop, Juice, and Milk.)
Just touch the cooler to get a menu that lets you choose the category, and then click the button for the category you want to get a random snack from that group! So you can see if you really do get the peanut butter and jelly sammich, or if you're given a raw carrot instead.
You get unlimited servings, so if you don't like sugar cookies, you can feed it to the ducks, and try again for the choklit cupcake!
There are no alcoholic drinks, so it's safe for families with kids and teenagers.
When you're tired of standing around eating muffins, you can have a seat right on the cooler! Just right click and Sit Here to sit on top of it. Then touch the handle to choose from 9 different seat poses; 3 on the cooler, 3 sitting on the ground, and 3 lying down.
All the poses are adjustable, and the cooler will remember the adjustments for people who sit there frequently.
The cooler, and most of the food, are original sculpts and textures; and there's one pose specifically for watching fireworks or clouds that's also original. Available in 5 colors, that match the colors for the Water Coolers.
Transfer Only, L$300. Available now at the Home and Garden Store on Livingtree at Robin's new Home and Garden store at the Nest and on the Marketplace.
Tuesday, August 9, 2011
Photoshop Tutorial on YouTube
It's occurred to me that some of the people who join Livingtree Island do so because of the tutorial materials there, and that those people might be interested in tutorials I have on YouTube as well!
So, for those of you who are, I posted a new one today, about Making and Saving Brushes in Photoshop. It's actually a continuation of a series I've been doing. (The rest are on my channel.)
We start with a short discussion about setting up the workspace to make a new brush, and capturing a brush tip shape. Then we'll explore how to save your new brush as both a Brush Preset and a Tool Preset. Finally, we look at the differences between the two types of preset, and talk about how to choose which one to use.
Next week, we'll finish up this series with a lesson about organizing your growing brush collection, and how (and where) to save Brush Sets.
Until then, I hope you enjoy this tutorial!
Subscribe to:
Posts (Atom)